Join us
@airrakesh ・ Aug 23,2022 ・ 2 min read・ 1k views


Hello everyone. We are going to start a Kubernetes series. In this series, we will learn the basics of Kubernetes and try to deploy our sample microservice code with Kubernetes.
Disclaimer :) If you don’t have prior knowledge of Docker, please refer to this blog. It will help you to understand Kubernetes more precisely.
What we are going to achieve in this article
Step 1: What is Kubernetes? Why and when should we use it?
I assume that if you came here, you probably have some idea about Kubernetes. But even if you don’t know about Kubernetes, please follow the resources below, which will give you a clear idea about Kubernetes.
Step 2: Entire Flow.

Let's understand this flow. So, we can make our Kubernetes manifest file accordingly.
Step 3: Create a Basic microservice
Step 4: Add Kubernetes necessary file and explain about these files

deployment.yaml
service.yaml
1. In this file we need to look at ClusterIP
2. ClusterIP is used to expose any pod inside the same cluster.
3. We used here type as ClusterIP because MongoDB service no need to expose outside the Cluster.
4. Now let's run the MongoDB service by running the following command
5. Now our container is created and the service also.

Explanation of User folder
deployment.yaml
service.yaml
Let's run user service
Now if we see we have 2 services and deployments are running

Explanation of Gateway folder
deployment.yaml
service.yaml
Let’s run user service
Now if we see we have 3services and 3 deployments are running
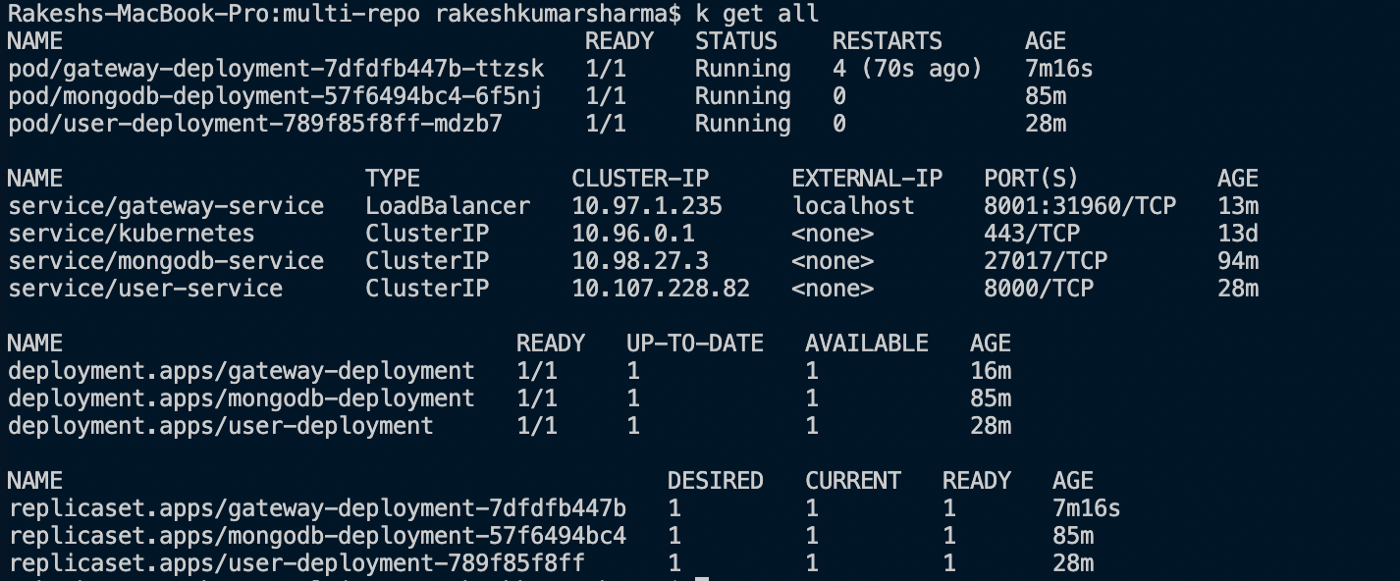
NOTE:
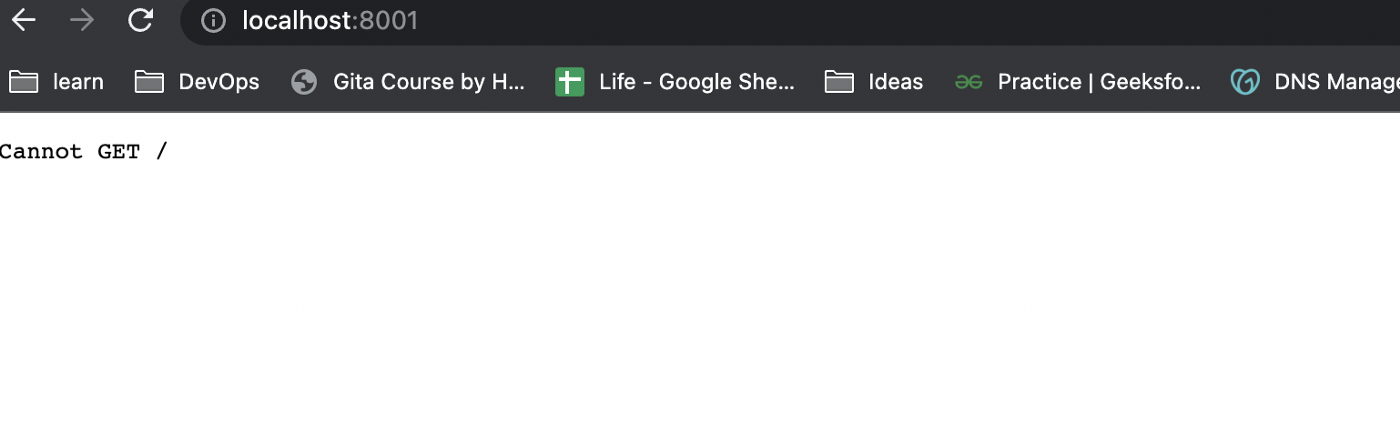
In the above picture, if we see in services part. Gateway service can be accessed from localhost:8001.
Next, article we will deploy the same application on AWS EKS. Which is managed service by AWS
Feedback: Thank you for reading this article. I hope you understood the basics of deploying your application from scratch on Kubernetes. Please feel free to ask questions or give suggestions to improve the content quality.
Share with your friends and followers
Join other developers and claim your FAUN account now!

Influence
Total Hits
Posts

Hand curated newsletters for Developers, private Slack with like minded people, podcasts, job offers, news and more!

